How to Change Your Windshield: A Step-by-Step Guide for Car Owners
Changing your windshield can seem like a daunting task for many car owners, but it is an essential aspect of vehicle maintenance that can ensure your safety on the road. According to Dan Morrison, a renowned expert in the windshield change industry, "A properly fitted windshield not only enhances the aesthetic appeal of your vehicle but also plays a critical role in protecting you and your passengers during an accident." With the right tools and a bit of guidance, this process can be accomplished effectively at home.
In this step-by-step guide, we will demystify the windshield change procedure, providing clear instructions and tips to help you successfully replace your vehicle's windshield. Whether you're dealing with minor cracks or a complete break, understanding the necessary steps will empower you to tackle this task with confidence. Join us as we explore the essential techniques and considerations for a smooth and safe windshield change, allowing you to keep your car in top condition and maintain your peace of mind while driving.
Understanding the Importance of a Properly Installed Windshield
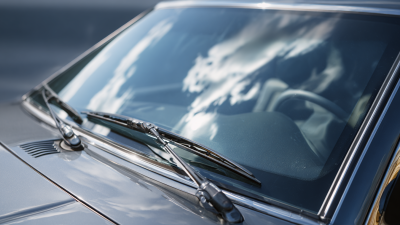
A properly installed windshield is crucial for both safety and functionality in any vehicle. It serves as a primary line of defense against environmental elements, debris, and potential accidents. An effectively secured windshield not only enhances the structural integrity of the car but also plays a key role in ensuring the effectiveness of airbags during a collision. If the windshield is not installed correctly, it can lead to dangerous scenarios, such as the risk of the windshield popping out during an impact or an increased likelihood of shattering, which can expose passengers to serious injuries.
Furthermore, a misplaced or poorly sealed windshield can cause various issues, including water leaks, wind noise, and fogging, which detract from the driving experience. The installation process demands precision and expertise, as any misalignment can compromise the vehicle’s safety systems. Therefore, understanding the significance of a properly installed windshield is not only about adhering to aesthetic standards but also about safeguarding the well-being of everyone inside the vehicle. When changing your windshield, take the time to ensure that every step is followed meticulously or consider enlisting a professional to guarantee the highest level of safety.
Tools and Materials Needed for Changing Your Windshield
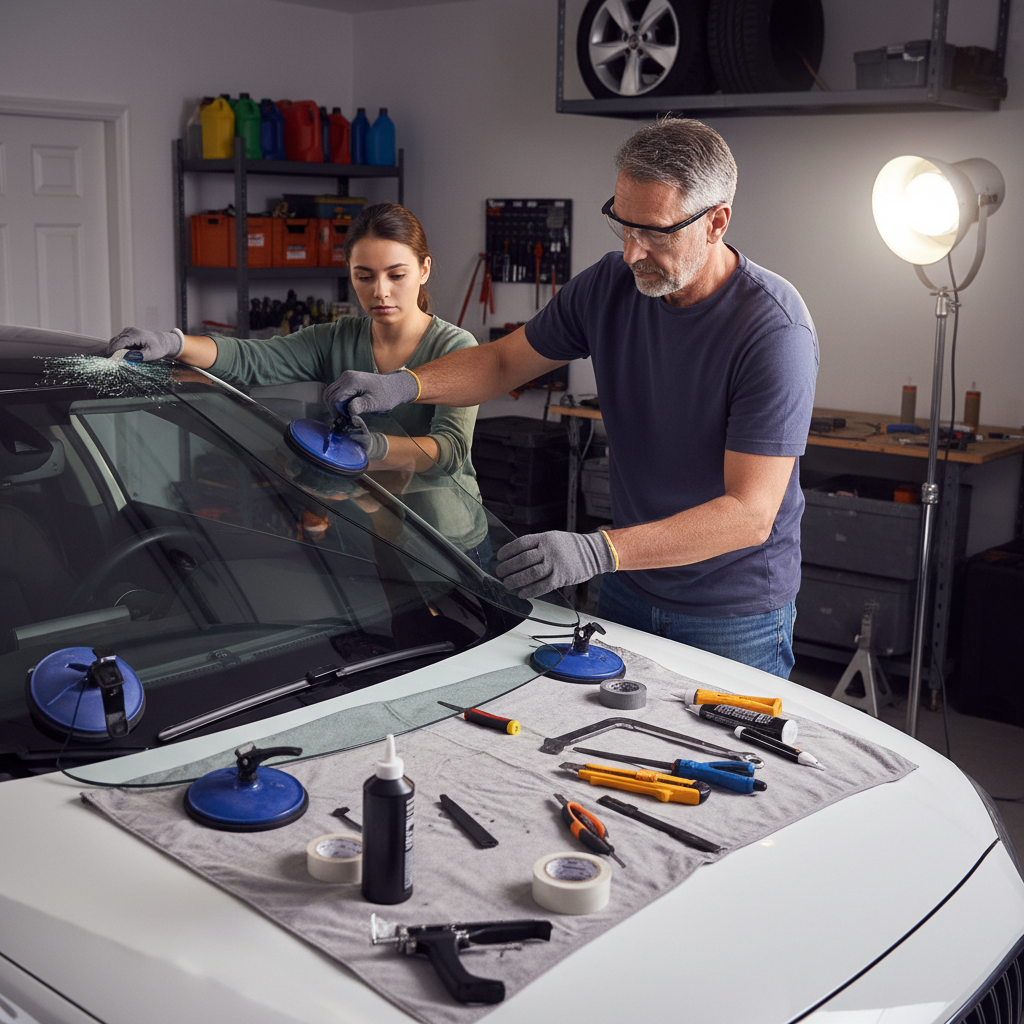
Changing a windshield can be a daunting task, but having the right tools and materials can make the process manageable. According to the Auto Glass Safety Council (AGSC), approximately 14 million windshields are replaced in the U.S. every year, emphasizing the importance of proper techniques and equipment. Essential tools for this job include a windshield removal tool, a caulking gun, and various hand tools like screwdrivers and pliers. Additionally, high-quality polyurethane adhesive is recommended for securing the new windshield, ensuring a strong bond and proper sealing.
Tips: Always wear safety goggles and gloves to protect yourself from shards of glass and sharp tools. It’s also advisable to work in a well-ventilated area, as some adhesives can emit harmful fumes. Familiarize yourself with the specific windshield setup of your vehicle to avoid common mistakes associated with size and fit.
Having the right materials is equally important. Aside from tools, you will also need a replacement windshield, of course, and a primer or adhesive activator. According to industry data, improper installation can lead to leaks or structural failure, potentially compromising passenger safety. Hence, investing in high-quality replacement parts is not merely a cosmetic choice but a crucial step in maintaining vehicle integrity.
How to Change Your Windshield: A Step-by-Step Guide for Car Owners - Tools and Materials Needed for Changing Your Windshield
| Tool/Material |
Purpose |
Recommended Quantity |
Notes |
| Safety Glass |
Replacement windshield |
1 |
Ensure it matches your vehicle model |
| Windshield Sealant |
Adhesive for installing the new windshield |
1 tube |
Choose a product suitable for your climate |
| Utility Knife |
To remove old sealant |
1 |
Use with caution |
| Flathead Screwdriver |
To pry off old windshield clips |
1 |
A must-have tool |
| Glass Suction Cups |
To lift and position the new windshield |
2 |
Ensure they have strong grip |
| Safety Goggles |
Protect your eyes during installation |
1 pair |
Always wear when working with glass |
| Gloves |
Protect your hands from sharp edges |
1 pair |
Use durable gloves |
| Measuring Tape |
To ensure proper fit of the windshield |
1 |
Double-check all measurements |
Step-by-Step Process for Removing the Old Windshield
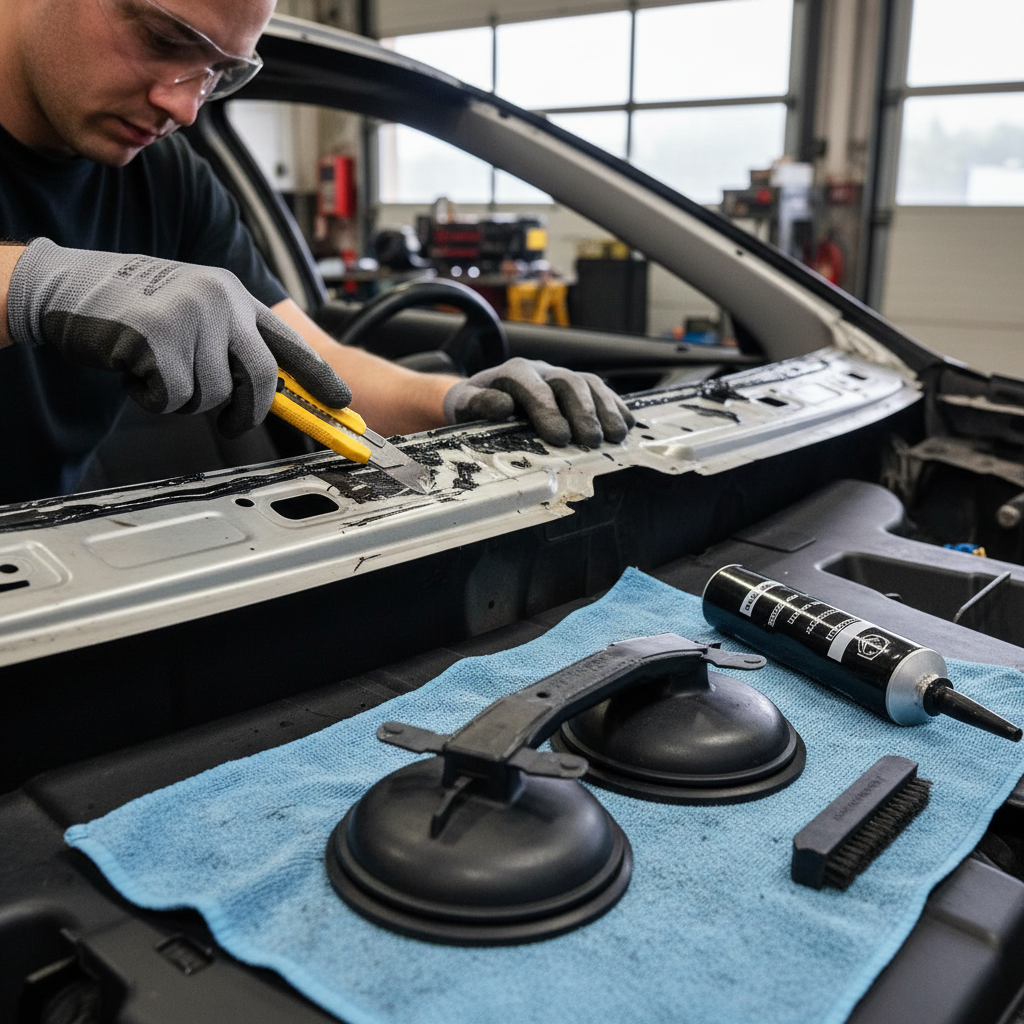
Replacing your windshield can seem daunting, but with the right approach, it's a manageable task for any car owner. The first step in the process is safely removing the old windshield. To begin, gather the necessary tools: a utility knife, a suction cup, and a windshield removal tool. First, score the adhesive around the perimeter of the windshield with the utility knife, taking care not to damage the car frame. Next, use the suction cup to create leverage and gently pull the windshield outward. According to industry reports, around 90% of windshields can be removed without damaging the surrounding areas, provided the correct technique is used.
Tips: Always wear safety glasses when working with glass to protect your eyes from shards. Additionally, if the windshield is cracked severely, consider enlisting professional help to prevent injury from glass breakage during removal.
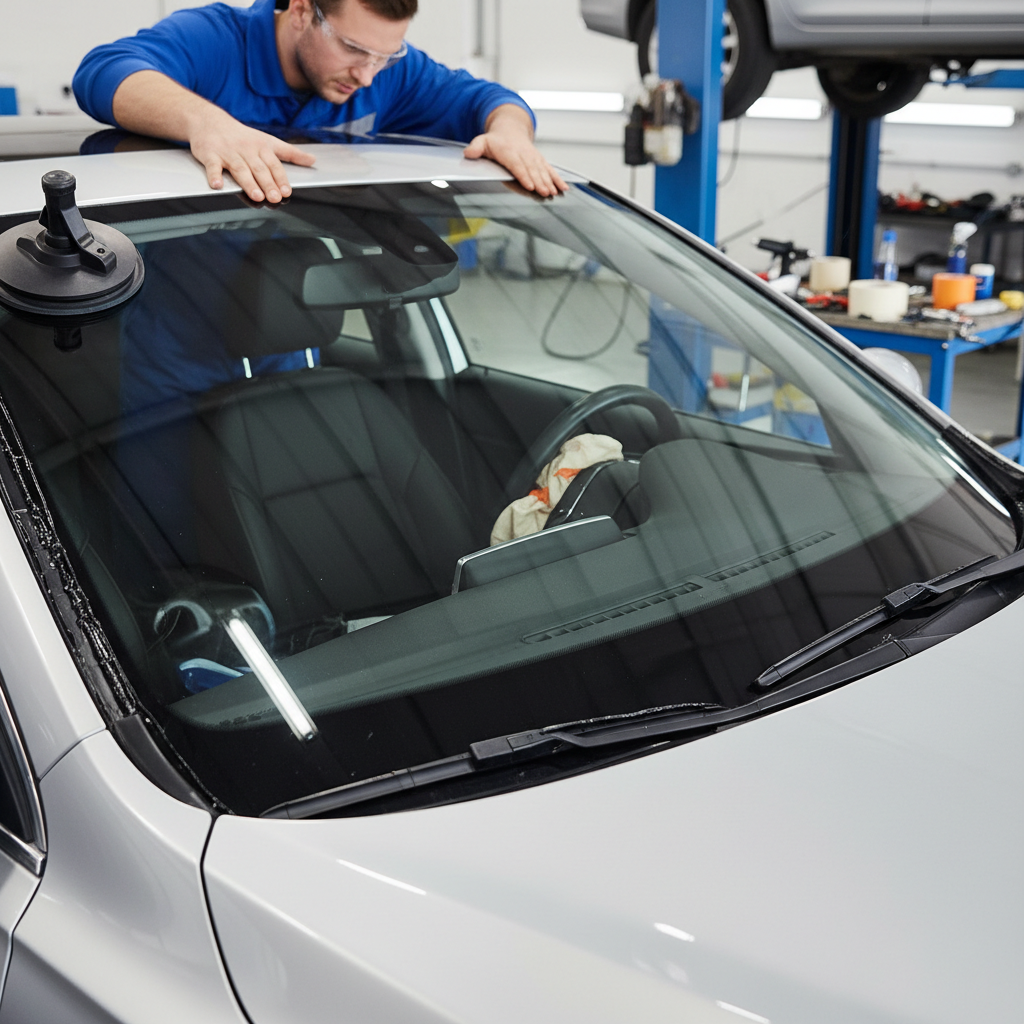
Once the old windshield is removed, clean the frame thoroughly to ensure that the new adhesive bonds properly. It’s essential to eliminate any debris, dirt, or old adhesive remnants. Statistics show that proper preparation can increase the likelihood of a successful installation by 75%. Finally, carefully position the new windshield and press it into place, ensuring a secure fit, which is crucial for both safety and structural integrity during driving.
Techniques for Installing the New Windshield Securely
Installing a new windshield securely is crucial for ensuring both
safety and functionality. Before beginning, gather the necessary tools:
a sealant or adhesive specifically designed for windshields, a utility knife, a suction cup tool, and
safety goggles. Start by removing the old windshield carefully; use the utility knife to cut through
any adhesive, and ensure you’re cautious to avoid damaging the frame. Once removed, clean the frame
thoroughly to remove any debris or old sealant, as a clean surface will help the new adhesive bond
effectively.
When positioning the new windshield, apply an even bead of adhesive around the frame, ensuring that
there are no gaps. Using the suction cup tool, lift the new windshield into place, aligning it carefully
with the frame. Press it down firmly to set it in the adhesive, maintaining consistent pressure for
a strong seal. Allow the adhesive to cure based on the
manufacturer's instructions, typically 24 hours, before driving the vehicle. This process not
only guarantees that the windshield is secure but also helps prevent leaks and potential accidents in the future.
Common Mistakes to Avoid During Windshield Replacement
When replacing your windshield, avoiding common mistakes is crucial to ensure a successful installation. One frequent error is neglecting to choose the right type of glass. Many car owners opt for a lower-cost option without realizing that the quality of glass affects visibility and safety. Always select OEM (Original Equipment Manufacturer) glass or high-quality alternatives that meet safety standards, as subpar materials may lead to further issues like leaks or cracks.
Another common pitfall is underestimating the importance of proper adhesive application. Insufficient or incorrect application of adhesive can compromise the bond between the windshield and the vehicle structure, leading to potential leaks and reduced structural integrity. It's essential to follow the manufacturer's instructions for adhesive as well as allowing sufficient time for it to cure before driving the vehicle. Lastly, many people overlook the need for recalibrating advanced driver-assistance systems (ADAS) after windshield replacement. Failing to recalibrate these systems can impair safety features, affecting your overall driving experience.