How to Install a Sliding Door Step by Step Guide?
Installing a sliding door can seem daunting. However, professional insights can make the process easier. Mark Thompson, a leading expert in sliding door install, once said, “A smooth sliding door elevates both function and style in any space.” This quote underscores the importance of getting the installation right.
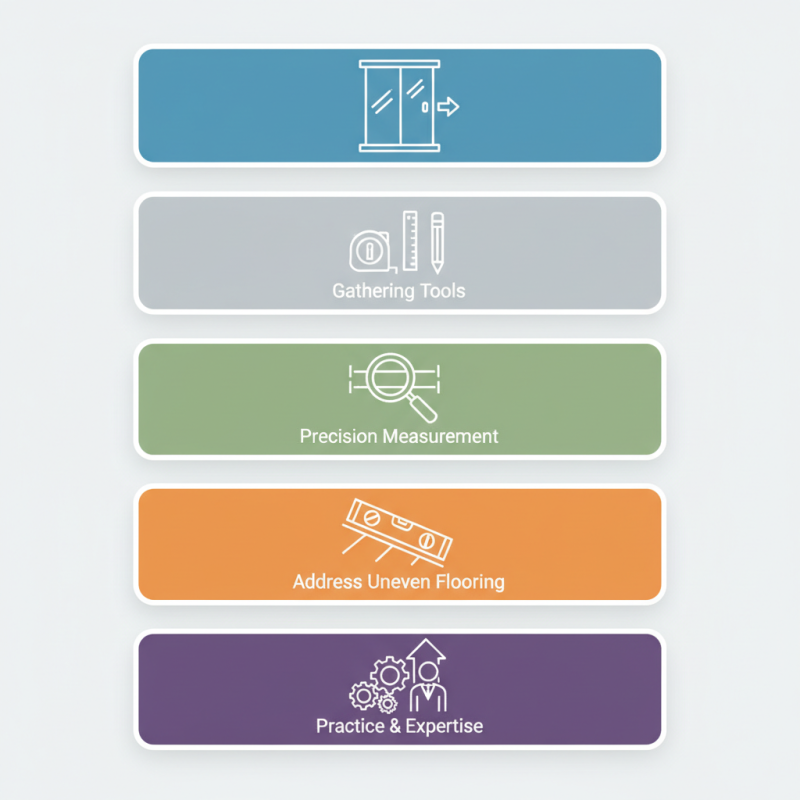
When embarking on a sliding door install, it’s essential to pay attention to details. The precision of measurements can make or break the installation. Even slight miscalculations can lead to significant issues down the line. Start by gathering all the required tools before diving into the project. This ensures a smoother workflow.
While many tutorials gloss over common challenges, real-world experiences highlight potential pitfalls. For instance, dealing with uneven flooring can complicate the installation. Reflecting on past projects leads to valuable lessons. Remember, practice can refine your skills. So, embrace the journey. Every installation builds your expertise and confidence.
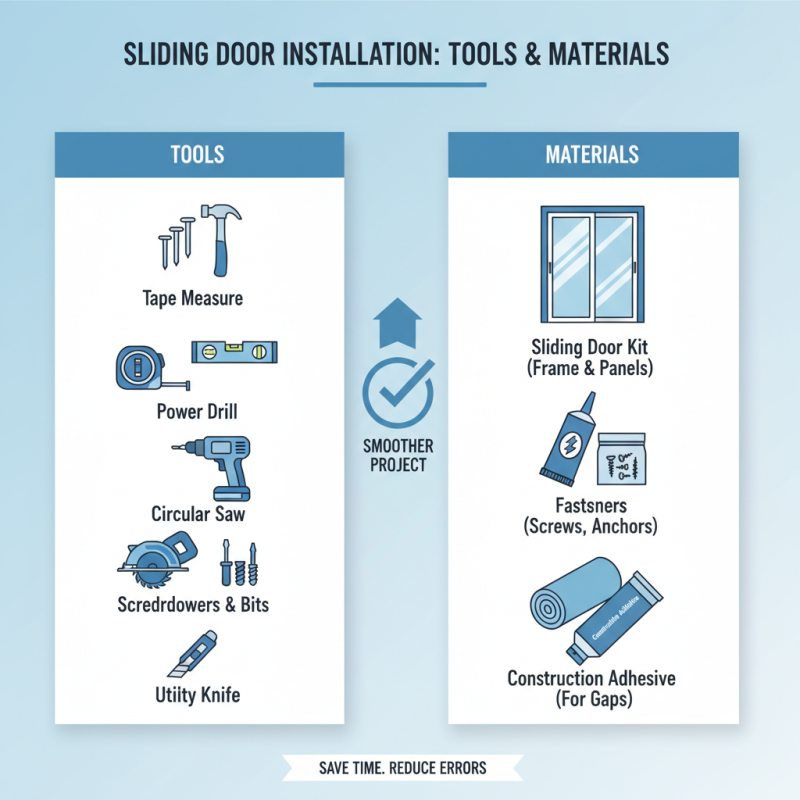
Tools and Materials Needed for Sliding Door Installation
Installing a sliding door can dramatically enhance a home’s aesthetics and functionality. Before starting, it is essential to gather the right tools and materials. A recent industry report from the National Association of Home Builders indicated that over 60% of home improvement projects require proper preparation and selection of materials. Using the right tools not only saves time but also reduces errors.
Basic tools needed include a level, drill, screwdrivers, and a measuring tape. A sturdy saw is essential for trimming the door to size. For materials, choose a quality sliding door kit that includes tracks and rollers. The door itself can be made from wood, vinyl, or aluminum, depending on your home’s style. Some homeowners may overlook the importance of hardware, which can affect the door's longevity.
Mistakes often occur during installation. For example, incorrect measurements can lead to gaps that compromise insulation. Also, rushing the leveling process can cause uneven sliding. Take time to double-check every step. According to a survey by the Home Improvement Research Institute, 72% of DIY installers encounter issues that could have been avoided with careful planning. Reflect on past experiences to ensure a more streamlined installation process this time around.
Measuring and Preparing the Door Frame for Installation
Measuring and preparing the door frame is critical for a successful sliding door installation. Accurate measurements help ensure that the door fits well and operates smoothly. According to a report from the National Association of Home Builders, precise framing can improve energy efficiency by up to 20%. It's essential to account for the width and height of the opening. You should also consider the thickness of the track system.
Before you begin, make sure the area is clear. Use a level to check that the floor is even. An uneven floor can lead to installation issues later. The frame should be in good condition. Look for any signs of rot or damage that might affect the installation. Use a stud finder to locate the studs in your wall. This will provide a sturdy basis for your door frame.
As you measure, it’s useful to write down each dimension. Don’t rush this step; mistakes here can result in significant setbacks. Many DIY enthusiasts overlook this, leading to misaligned doors. The average height for a sliding door is around 80 inches, but variations exist. Think about the spacing needed for the door handles and locks too. All these details matter. Get them right for better performance.
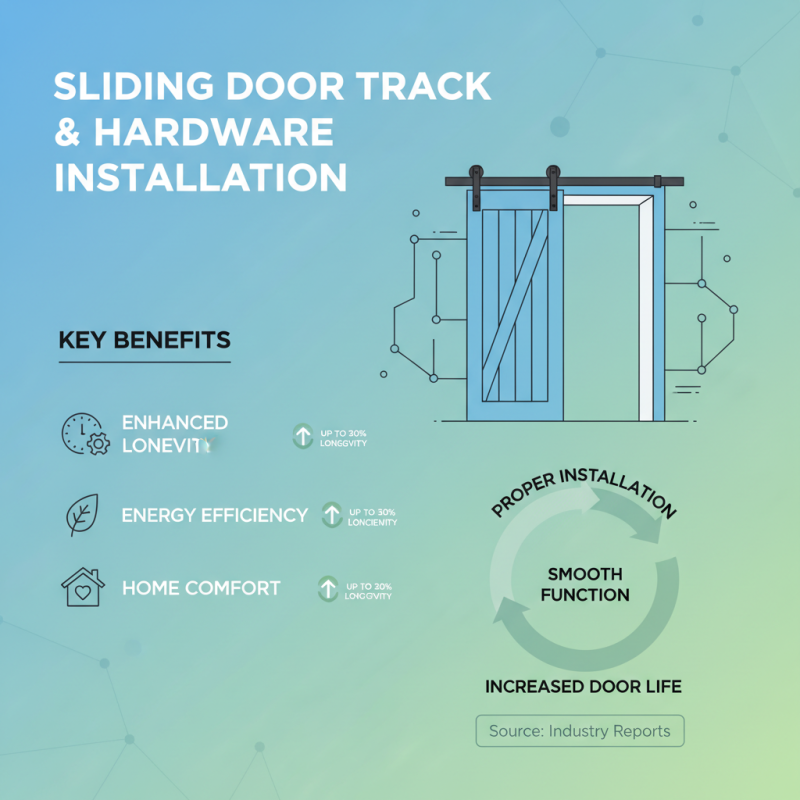
Installing the Track and Hardware for the Sliding Door
Installing a sliding door requires attention to detail, especially when it comes to the track and hardware. The track plays a crucial role in the door's functionality. According to industry reports, a well-installed sliding track can enhance the door's longevity by up to 30%. This increases overall energy efficiency and home comfort.
Begin by selecting a sturdy, high-quality track. Measure the opening accurately. Ensure that the track is level. This ensures smooth operation. A common error is misalignment during installation. Poor alignment can lead to door sticking or falling off. Pay close attention to installation instructions. Use a level tool for precision.
Hardware selection is equally important. You need durable rollers and robust handles. Industry experts recommend stainless steel components for enhanced durability. Improper hardware can cause frequent repairs, diminishing the door’s functionality. User feedback highlights that poor-quality rollers can lead to noise issues, affecting daily use. Always test the door after installation to ensure smooth sliding. Address any sticking or scraping immediately.
Hanging the Sliding Door and Adjusting for Smooth Operation
Hanging a sliding door requires precision and attention to detail. Start by placing the door on a soft surface to prevent scratches. Ensure that the top track is properly positioned before you hang the door. This is where things can go wrong. If the track isn’t level, the door won’t slide smoothly. Use a level tool to check your alignment. A slight deviation can lead to major frustration later on.
Once the track is secured, lift the door into position. Engage the door rollers with the top track. This step can be tricky. Sometimes, the rollers may not align perfectly. It may take a few adjustments to get it right. After hanging the door, focus on the bottom track. The door should sit comfortably in the track without excessive gaps. If there’s a gap, it may sway or become unaligned during use.
Adjust the rollers for smooth operation. This may require some trial and error. Turn the adjustment screws until you find the perfect balance. Your goal is to have the door glide effortlessly. It's common to encounter minor issues, like sticking or dragging. If that happens, double-check your installation. A small adjustment can make a significant difference in functionality.
Finishing Touches: Sealing and Trimming the Installed Door
When installing a sliding door, the finishing touches are crucial. Sealing and trimming enhance both functionality and aesthetics. Proper sealing prevents drafts and moisture from entering your home. According to industry reports, poorly sealed doors can lead to energy losses of up to 30%. Trimming also creates a polished look, covering any gaps or irregularities.
To achieve an effective seal, use high-quality weatherstripping. Ensure the door frame is level before applying the seal. Any adjustments will contribute to a tighter fit. Over time, doors may shift. Regularly check and replace weatherstripping as needed to maintain insulation.
Trimming options vary from standard casing to customized designs. Consider the room's existing decor when choosing materials. If the door is slightly misaligned, adjust the trimming to balance its sightlines. Many tackle trimming as an afterthought, but it can significantly impact the overall feel of the space. Each step you take reflects your commitment to quality in home improvement.
Sliding Door Installation Process: Time Spent on Each Step