7 Best Ways to Replace Windshield Safely?

A damaged windshield is more than an annoying crack. It can weaken the vehicle’s protection during a collision and reduce clear visibility in rain or direct sunlight. Small flaws can spread quickly after a cold night, a rough road, or a sudden temperature change.

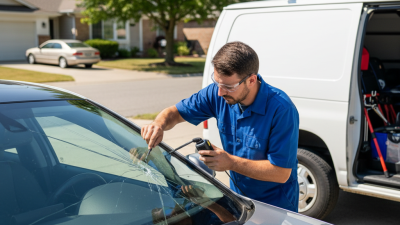
This guide explains seven practical ways to replace windshield safely, from using a qualified mobile technician to visiting a professional glass shop. It also covers glass selection, adhesive preparation, weather conditions, and post-installation checks. Safety comes first. A certified technician should inspect the damage, confirm the correct windshield, and follow the vehicle manufacturer’s installation procedures. Modern vehicles may also require camera or ADAS calibration after replacement. That step is easy to overlook.

Practical details matter. The work area should be clean, dry, and protected from dust. The technician needs gloves, eye protection, proper cutting tools, and a reliable bonding system. After installation, the adhesive must cure for the recommended time before driving. Do not rush this part.

No method is perfect for every vehicle. Even experienced owners can misjudge hidden damage around the glass edge or roof frame. That uncertainty deserves attention. A cheaper repair may appear attractive, yet poor alignment can create wind noise, water leaks, or unsafe camera readings. The seven methods below compare convenience, equipment, cost, and professional support. They are designed to help drivers make a careful decision, not simply choose the fastest option.
7 Best Ways to Replace Windshield Safely?

Confirm Windshield Fit, VIN Data, and ADAS Requirements Using OEM Specifications

7 Best Ways to Replace Windshield Safely

Confirm windshield fit, VIN data, and ADAS requirements using current OEM specifications. A windshield can look identical yet have different camera brackets, glass thickness, or sensor windows. Record the vehicle identification number before ordering. Check body style, production date, trim level, and factory options. Do not rely on memory or a quick visual match.

Inspect the replacement glass for distortion, chips, and correct markings. Compare its mounting points with the removed windshield. Use approved primers, adhesives, and curing times. Keep the vehicle level during installation. A rushed bond can create leaks or movement. That mistake is easy to underestimate. Follow the vehicle maker’s repair procedures, not informal shortcuts. A trained technician should also inspect the dashboard camera area and rain sensor surface.

After fitting the glass, verify every camera and sensor function. Many vehicles require static or dynamic ADAS calibration after windshield replacement. Use documented equipment and record the calibration result. Road-test only when the adhesive has safely cured. Recheck warning lights, lane guidance, automatic braking alerts, and wiper activation. I would not treat a successful visual inspection as proof of safety. Small alignment errors may remain invisible until bright sunlight, rain, or an emergency maneuver exposes them. Keep the VIN, glass details, adhesive batch, technician credentials, and calibration report with the service record.

Use Two-Technician Handling and Professional Cut-Out Tools During Removal

7 Best Ways to Replace Windshield Safely?

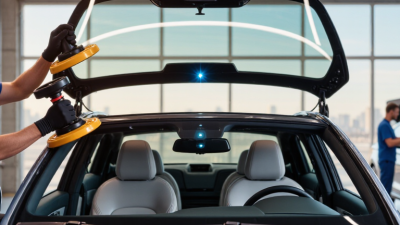
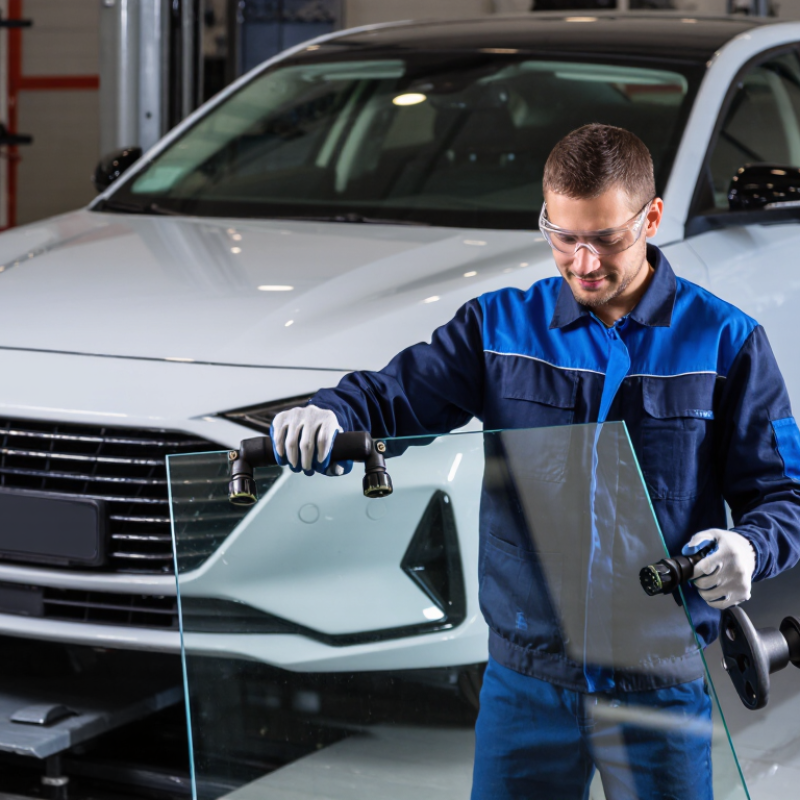
Windshield replacement is not a one-person lifting job. Glass can flex, slip, or crack during removal. Two trained technicians should control the panel from both sides. One technician stabilizes the glass while the other operates the cut-out tool. This teamwork protects the dashboard, paint, and the vehicle’s bonding surface. Small misalignment matters.

Professional cut-out tools provide cleaner, more predictable separation. Powered wire systems, guarded blades, vacuum lifters, and glass stands reduce sudden movement. Technicians should inspect the tool before use and select the method for the adhesive and vehicle structure. Improvised blades often damage pinch welds. They also increase hand injuries. The process looks simple. It is not.

NHTSA’s 2023 Traffic Safety Facts reported 40,901 traffic deaths in the United States. That number is not windshield-specific, but it underlines the consequences of weak crash protection. Federal Motor Vehicle Safety Standard 212 evaluates windshield retention during frontal crashes. The Auto Glass Safety Council’s AGRSS standard also emphasizes qualified procedures, suitable materials, and technician training. After installation, technicians should check glass alignment, adhesive contact, and the required safe-drive-away time. A rushed inspection remains a weakness, even when the cut-out was clean.

7 Best Ways to Replace Windshield Safely? - Use Two-Technician Handling and Professional Cut-Out Tools During Removal
Step Safe Replacement Method Recommended Handling Primary Tools or Materials Key Safety Practices Completion Check
1 Confirm vehicle and glass compatibility One technician may perform the identification; a second technician verifies the selection. Vehicle identification information, replacement windshield, glass specification sheet, measuring tools. Confirm the correct shape, dimensions, mounting features, sensors, camera brackets, antenna connections, and heating elements before removal. Verified
2 Prepare the work area and vehicle Two technicians for vehicle preparation and protection. Level work surface, protective covers, gloves, safety glasses, cleaning materials, masking tape. Park on a stable, level surface; control pedestrian access; protect the dashboard and painted surfaces; disconnect or secure electrical components when required by the vehicle procedure. Area Ready
3 Remove exterior fittings carefully One technician removes fittings while the other supports parts and tracks fasteners. Non-marring trim tools, approved clips or fasteners, labeled storage container, protective tape. Remove wiper arms, moldings, cowl components, and trim according to the vehicle service procedure. Avoid prying against painted surfaces or brittle plastic. No Damage
4 Cut out the old windshield with controlled tools Two-technician handling is recommended: one controls the cut-out tool and one stabilizes the glass and protects the interior. Professional cold-knife, wire, or powered cut-out system; suction handles; interior protection; cut-resistant gloves and eye protection. Use the tool at a controlled angle and follow the adhesive perimeter. Keep hands clear of the cutting path, prevent glass movement, and avoid contact with painted pinchweld surfaces. Controlled Cut
5 Lift out and inspect the opening Two technicians lift the glass together using secured suction handles. Two or more suitable suction handles, glass stand, plastic scraper, approved adhesive-removal tools, inspection light. Lift evenly without twisting. Remove loose adhesive while preserving the sound, properly bonded primer layer when the adhesive system requires it. Inspect for corrosion, distortion, chips, or exposed metal. Opening Sound
6 Dry-fit, prepare, and install the replacement Two technicians position the windshield; one aligns while the other supports and observes clearances. Approved glass primer or activator where specified, compatible replacement adhesive, applicator gun, setting blocks, alignment marks, suction handles. Perform a dry fit before applying adhesive. Follow the adhesive manufacturer’s preparation and application requirements, maintain the specified bead profile, and avoid contamination of bonding surfaces. Aligned
7 Cure, inspect, and release the vehicle One technician performs the final inspection; the second confirms the checklist and documentation. Adhesive technical data, glass-cleaning materials, leak-test equipment when appropriate, calibration equipment when required. Observe the adhesive’s specified safe-drive-away time and environmental limits. Check the seal, trim, wipers, electrical connections, warning indicators, visibility, and camera or sensor calibration requirements before release. Ready for Use

Apply OEM-Specified Urethane and Observe Its 60-Minute Drive-Away Time

Replacing a windshield safely requires more than removing damaged glass. Inspect the frame for rust, dents, or hidden distortion before installation. Protect the dashboard and seats from dust, tools, and uncured adhesive. Remove the old glass with controlled cuts, avoiding damage to the pinch weld. Clean the bonding surface carefully. Small contamination can weaken the seal.

Use only the urethane specified for the vehicle’s repair procedure. Check its storage condition, expiration date, and required primer. Apply an even bead with the correct height and shape. Set the glass gently, using measured alignment marks instead of pressure or guesswork. A crooked installation can create leaks, wind noise, or poor camera visibility. It is easy to rush here.

The sixty-minute drive-away time matters. It begins only after the urethane has been applied correctly and the glass is properly positioned. Temperature, humidity, glass size, and product instructions can change the actual curing period. Never treat sixty minutes as permission to leave early. Keep the vehicle stationary during that time, and confirm the adhesive manufacturer’s instructions. I have seen rushed repairs fail because the surface was cold or slightly oily. That mistake deserves attention. After curing, check the seal, trim, wipers, and interior for residue. If the vehicle uses a windshield-mounted camera, complete the required calibration before normal driving. A final inspection should feel deliberate, not hurried.

7 Safe Windshield Replacement Practices

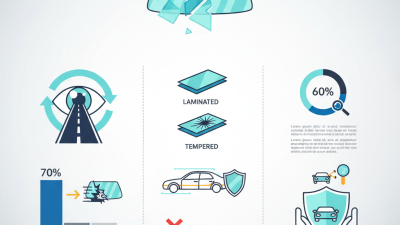
OEM-specified urethane must be used, and the vehicle should not be driven until the product’s stated drive-away time has elapsed. The 60-minute period shown below is a planning example; always follow the exact adhesive and vehicle instructions.

Safety focus: Proper preparation, correct urethane application, accurate glass placement, sensor verification, and the full 60-minute drive-away period help support a safe windshield replacement.

Reinstall Sensors and Calibrate Cameras to OEM Target Tolerances

Replacing a windshield safely requires more than removing glass and applying adhesive.

Start by inspecting the frame for corrosion, hidden damage, and uneven bonding surfaces. Use the correct glass specification and fresh, compatible adhesive. Protect the dashboard and seats from broken glass and primer residue. Keep the vehicle still during the adhesive’s required curing period. Small shortcuts can create large problems.

Modern windshields often support cameras, rain sensors, light sensors, and driver-assistance functions.

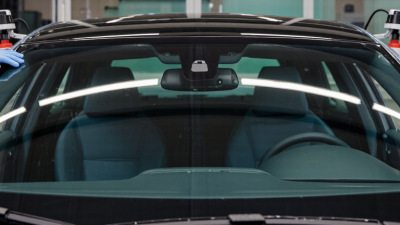
Reinstall each component in its original position, without dust, fingerprints, or trapped air. A camera bracket that shifts by a few millimeters can affect lane detection and emergency warnings. After installation, perform a diagnostic scan and calibrate the camera against the vehicle’s OEM target tolerances. Static calibration needs a level floor, correct tire pressure, measured target distance, and controlled lighting. Dynamic calibration may require a safe road test under suitable conditions. Follow the vehicle service data, not memory.

I have seen technicians complete calibration successfully, then discover a slightly crooked steering wheel caused inaccurate results.

That detail is easy to miss. Check ride height, wheel alignment, windshield angle, and sensor connections before accepting the calibration report. Confirm that warning lights are cleared, camera images are stable, and every related function responds correctly. Record the target setup, measurements, fault codes, and final scan results. The process may feel excessive, but reliable documentation reveals what still needs review.

Perform Water-Leak, Bond, and Safety Checks Before Vehicle Release

7 Best Ways to Replace Windshield Safely?

Perform Water-Leak, Bond, and Safety Checks Before Vehicle Release

A safe windshield replacement depends on more than clean glass and fresh adhesive. Inspect the body flange for rust, scratches, or uneven old bonding material. Use the correct preparation method for the surface. The adhesive bead must be continuous, even, and free from gaps. Small defects can become serious leaks.

Respect the adhesive’s curing time. Do not release the vehicle early. A trained technician should verify the required temperature, humidity, and safe-drive period from reliable repair guidance. Check the glass position from inside and outside. Confirm that trim sits flat, with no lifted corners or exposed adhesive. It should look right.

Test for water leaks with a gentle hose flow, not a harsh spray. Begin above the glass and move slowly around the seal. Place dry paper towels along the dashboard and interior pillars. Watch for damp marks. Then inspect the bond visually for movement, gaps, or unusual sounds. Recheck the wipers, washers, mirrors, and driver-assistance sensors if fitted. Calibration may be necessary after glass replacement.

A second inspection helps. Human error happens, even with experienced workers. No checklist is perfect. If anything seems uncertain, hold the vehicle and investigate before release. A rushed handover is not a small mistake.